
In today’s world, we use numerous electronic devices daily, from smartphones and tablets to e-readers and smartwatches. Keeping all these devices charged and organized can be a challenge. Setting up a dedicated charging station is a practical way to ensure your gadgets stay powered up and your space remains tidy. This guide will walk you through the steps to create an efficient charging station tailored to your needs.
Why Set Up a Charging Station?
A charging station centralizes your device chargers in one spot, reducing clutter and helping you keep track of your gadgets. It also prevents the frustration of searching for chargers or outlets, saves space, and can extend the lifespan of your devices by avoiding overuse of one outlet or power strip.
What You’ll Need
Before setting up your charging station, gather the following items:
– Power strips or multi-outlet chargers: Choose one with surge protection.
– Charging cables: Make sure you have the right cables for each device.
– Organizers: Cable clips, boxes, or stands to keep cords untangled.
– A designated spot: A desk, shelf, or a small table near an outlet.
– Labels or markers: Optional, to identify cables and devices quickly.
Step 1: Choose the Location
Select a convenient and accessible location close to a power outlet. Common spots include:
– A desk or workstation
– A shelf near your living room seating area
– An entryway console table
– A nightstand in the bedroom
Make sure the area has enough space to accommodate all your devices comfortably.
Step 2: Gather and Organize Your Devices
Collect all the devices you frequently charge. Sort them by how often you use them and consider how many need to be charged simultaneously. This will help determine the number of charging ports and cables required.
Step 3: Select the Right Power Source
Depending on the number and type of devices, pick a power strip or charging hub with enough USB ports and outlets. Features to look for include:
– Surge protection: Protect your devices from power spikes.
– Fast charging capabilities: Some chargers provide faster charging for compatible devices.
– Multiple port types: USB-A, USB-C, or wireless charging pads.
Step 4: Organize Your Cables
Managing cables is key to a neat charging station.
– Use cable clips or ties to bundle cables together.
– Label each cable if you have multiple similar cords.
– Arrange cables so they don’t tangle or cross over each other.
– Consider a charging station box that hides power strips and excess cables.
Step 5: Set Up Device Holders or Stands
To keep devices visible and accessible while charging, use holders or stands. These can be:
– Simple phone stands or docks
– Multi-device charging stations with built-in stands
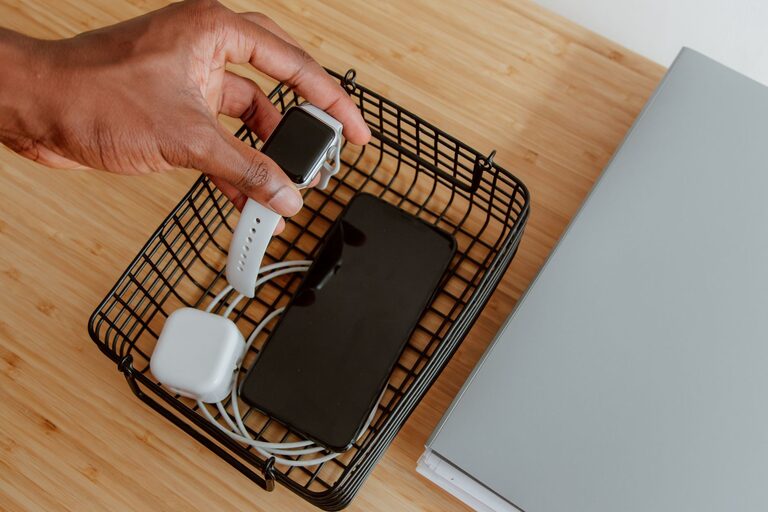
– DIY solutions like small baskets or trays
This step helps prevent devices from sliding off surfaces and keeps your space looking organized.
Step 6: Test Your Charging Station
Plug in the power strip or charging hub, connect your devices, and make sure everything charges correctly. Check if any cables need adjusting or if the station needs to be relocated for better access.
Maintenance Tips
– Regularly check cables for wear and replace damaged ones.
– Clean the charging station area to avoid dust buildup.
– Upgrade your charging equipment as needed to accommodate new devices or faster charging.
Bonus: Portable Charging Station Ideas
If you need a charging station on the go, consider:
– A compact charging organizer bag.
– A power bank with multiple USB ports.
– Portable wireless charging pads.
Conclusion
Setting up a charging station is a simple project that brings order to your daily routine and keeps your devices powered efficiently. With just a few steps and some organizing tools, you can create a neat, functional space tailored to your tech needs. Start today to enjoy a clutter-free way to charge all your gadgets in one convenient spot!